A structured post-renovation walkthrough checklist is not about nitpicking; it is about verification. Small details overlooked at this stage can become larger frustrations later.
The renovation is nearly complete. Cabinets are installed, paint is dry, fixtures are in place, and the dust has settled. But before issuing the final payment, homeowners should conduct a structured post-project walkthrough. This final inspection protects your investment and ensures the finished work matches the contract.
Inspect Work Against The Original Scope
Begin with the contract and approved change orders in hand. Verify that each listed item has been completed in accordance with the agreed specifications.
Confirm that the materials match the selections: cabinet style, countertop material, flooring type, paint color, fixtures, hardware, and trim details. Even small discrepancies should be documented immediately.
Check that deleted items were properly removed and that added elements from change orders are fully installed. Comparing reality to documentation prevents misunderstandings before final payment is released.
Explore What A Detailed Estimate Should Actually Include to verify scope alignment.
Test All Systems And Functionality
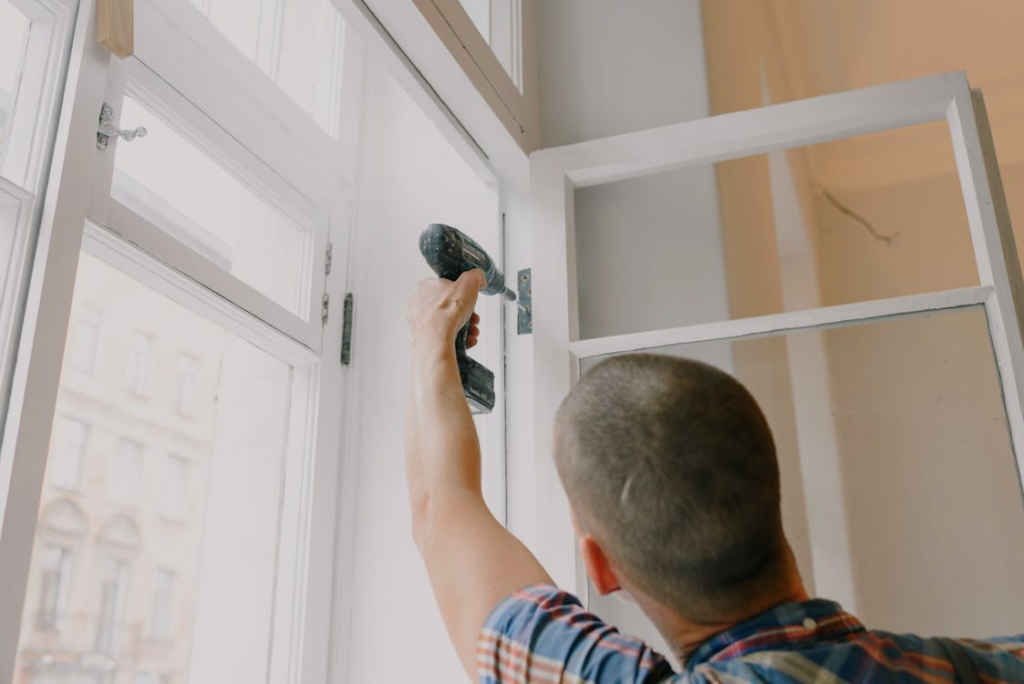
Functionality matters as much as appearance. Test every light switch, outlet, appliance, plumbing fixture, HVAC register, and exhaust fan.
Run faucets to check for leaks and consistent water pressure. Flush toilets and inspect for proper sealing. Operate windows and doors to ensure smooth movement and secure locking.
If an electrical panel was upgraded, verify labeling accuracy. If new appliances were installed, confirm they power on and operate correctly.
This is also the time to review smart home systems, thermostats, or integrated controls for proper programming.
See Whole-Home Rewiring: Signs It’s Time when evaluating electrical upgrades.
Review Finishes And Craftsmanship Details
Walk room by room and inspect finishes carefully. Look for paint inconsistencies, uneven caulking, misaligned cabinet doors, chipped tile edges, or gaps in flooring.
Examine grout lines, trim joints, and hardware installation. Minor imperfections are normal in construction, but obvious defects should be noted.
Use natural light when possible to spot surface irregularities. Bring blue painter’s tape to mark areas requiring correction without confrontation.
A punch list should clearly document each item. The contractor can then schedule a return visit to address remaining details.
Check Warranty Coverage Explained For Home Services to understand protection terms.
Confirm Permits And Documentation
Before issuing the final payment, confirm that all required inspections have passed and that permits are officially closed.
Request copies of final inspection approvals, warranty documents, product manuals, and care instructions. These records are valuable for resale and future maintenance.
If subcontractors were involved, verify lien waivers if applicable in your region. This protects against future payment disputes between the contractor and subs.
Documentation is not a formality; it is proof that work was completed properly and legally.
Read Renovation Contracts Explained In Plain English to confirm documentation requirements.
Clarify Warranty Coverage And Next Steps
Review workmanship warranty terms in writing. Confirm duration, coverage limits, and the process for reporting issues.
Ask about maintenance recommendations for flooring, countertops, HVAC systems, or specialty finishes. Understanding care guidelines protects long-term value.
Establish a clear timeline for punch-list completion before issuing final payment. Holding a reasonable retainage amount until corrections are complete is standard practice in many projects.
A structured post-project walkthrough is your final quality control checkpoint. Inspecting against scope, testing functionality, reviewing finishes, confirming permits, and clarifying warranties ensures closure with confidence.
The final payment should reflect full completion, not an expectation of future corrections. Taking time for a thorough walkthrough transforms the end of a renovation from uncertainty into assurance.